







A React Native app can pass every unit and integration test and still fall apart in the hands of a real user. The individual pieces all work, and the flow they add up to does not. Closing this gap takes a different kind of test — one that runs the app the way a person does.
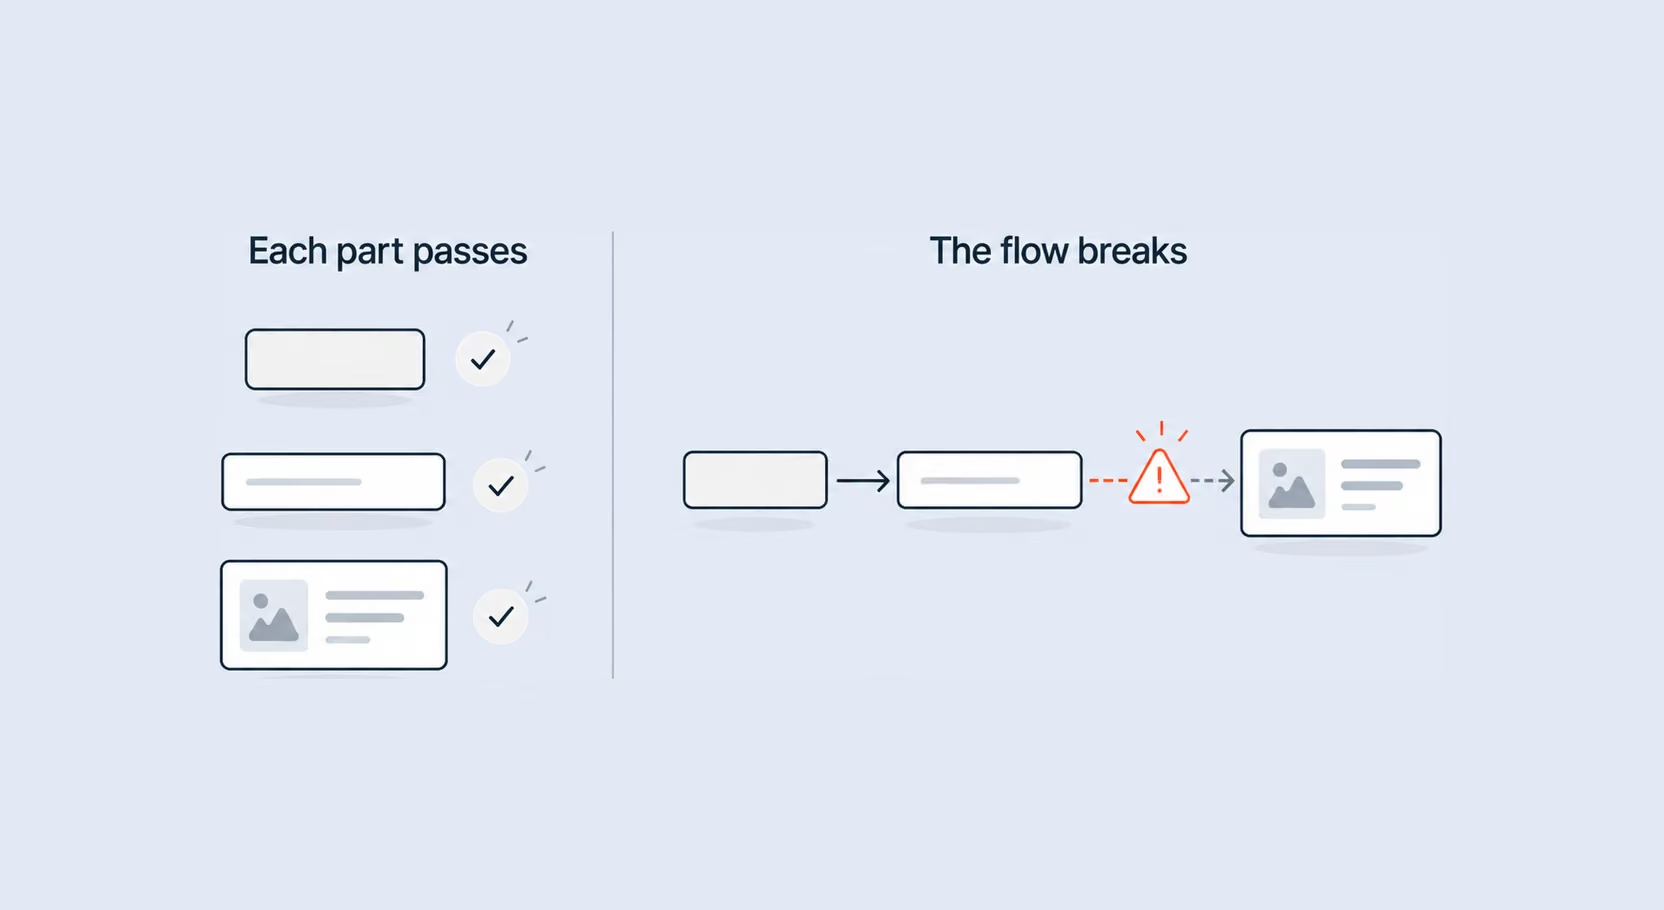
That kind of test is end-to-end (E2E), exercising the whole app from the outside, as a sequence of user actions rather than a set of isolated parts. Running on a real device through genuine taps and navigation, it catches the regressions that surface only when the entire flow runs together. This tutorial sets up Detox in an Expo React Native project with TypeScript and takes it from an empty configuration to a passing suite on both iOS and Android, including the Expo-specific traps that aren’t in the official docs.
{{banner}}
Three tools dominate React Native E2E testing, and they take genuinely different approaches. Which one fits depends less on features than on how much setup you’ll accept for how much control, so it’s worth seeing what each is actually built for before committing:
The differences line up more clearly side by side:
| Criterion | Detox | Maestro | Appium |
|---|---|---|---|
| Approach | Gray-box | Black-box | Black-box |
| Test syntax | JavaScript / TypeScript | YAML | Any language |
| Expo / EAS support | Community-driven | First-class | Manual setup |
| Setup complexity | High | Low | Very high |
| Best for | RN-focused teams, deep control | Fast setup, EAS users | Multi-platform, QA teams |
Detox is what this tutorial builds on. It offers more control over test behavior than Maestro and keeps everything in TypeScript alongside your app code, which matters once your tests grow past a handful of flows. That control comes with the tradeoffs worth knowing before you start.
Choosing an E2E framework is choosing which tradeoff you’d rather live with.
Note: Expo integration with Detox is entirely community-driven. Neither the framework nor its maintainers officially support the platform or maintain Expo-specific code or documentation, so the steps here reflect what works in practice rather than a sanctioned path.
For the Expo setup used in this tutorial, release builds proved more reliable than debug builds. We’ll get into that distinction in the configuration section. From there, we’ll go from zero to a running E2E suite on both iOS and Android, using an Expo React Native project with TypeScript.
Our tutorial is written for an Expo React Native project using TypeScript. If you don't have one yet, the Expo docs will get you started in a few minutes.
Before installing Detox, two system-level tools need to be in place:
Both are available via Homebrew:
brew install java

brew tap wix/brew
brew install applesimutils
Once installed, confirm Java is available in your terminal:
java -versionA successful install looks something like this:
java version "23.0.2" 2025-01-21
Java(TM) SE Runtime Environment (build 23.0.2+7-58)
Java HotSpot(TM) 64-Bit Server VM (build 23.0.2+7-58, mixed mode, sharing)
Detox supports multiple test runners. Throughout the tutorial, we’ll use Jest:
yarn add --dev jestFinally, add node_modules/.bin to your shell PATH. This lets you call local binaries like detox directly, without prefixing every command with yarn or npx:
# Add to your .zshrc or .bashrc
export PATH=$PATH:./node_modules/.bin
The change takes effect once you restart your terminal.
Start by adding Detox and the Expo config plugin to your project. We use Yarn, but NPM or any other package manager works just as well:
yarn add --dev detox
yarn add --dev @config-plugins/detox
The config plugin handles the Android-side native configuration automatically. Add it to the "plugins" array in app.json — create the key if it doesn’t exist yet:
{
  "expo": {
    "plugins": ["@config-plugins/detox"]
  }
}Detox works against compiled native binaries — an .app on iOS or an .apk on Android. To get those, we first need the native project folders. Expo’s prebuild command generates them from your JavaScript project:
yarn expo prebuildThe command will ask you a couple of questions about your bundle identifier and package name. Once it finishes, you’ll have ios/ and android/ directories ready for Xcode and Gradle.
With the native folders in place, run the Detox initializer. The -r jest flag tells it to scaffold a Jest-based setup:
yarn detox init -r jestTwo things get generated:
Open .detoxrc.js in your editor to see the configuration the initializer generated. The scaffolding gives you a working structure, but several of its values are placeholders standing in for details specific to your environment and project. Let’s go through the ones that need changing before the file is ready to run tests.
Check the devices key and update the simulator and emulator names to match what you actually have installed:
devices: {
  simulator: {
    type: 'ios.simulator',
    device: {
      type: 'iPhone 17 Pro' // replace with your intended device name
    }
  },
  attached: {
    type: 'android.attached',
    device: {
      adbName: '.*'
    }
  },
  emulator: {
    type: 'android.emulator',
    device: {
      avdName: 'Medium_Phone' // replace with your intended device name
    }
  }
},The generated config uses YOUR_APP as a placeholder throughout. Swap it out for your actual app name everywhere it appears. If you’re not sure of the exact format, check the ios/ folder that expo prebuild created — the .xcworkspace filename is what you need.
Our demo app is called expodetoxdemo, so the apps section looks like this:
apps: {
  'ios.debug': {
    type: 'ios.app',
    binaryPath: 'ios/build/Build/Products/Debug-iphonesimulator/expodetoxdemo.app',
    build: 'xcodebuild -workspace ios/expodetoxdemo.xcworkspace -scheme expodetoxdemo -configuration Debug -sdk iphonesimulator -derivedDataPath ios/build'
  },
  'ios.release': {
    type: 'ios.app',
    binaryPath: 'ios/build/Build/Products/Release-iphonesimulator/expodetoxdemo.app',
    build: 'xcodebuild -workspace ios/expodetoxdemo.xcworkspace -scheme expodetoxdemo -configuration Release -sdk iphonesimulator -derivedDataPath ios/build'
  },
  // ... android entries below
},The file defines both a debug and a release configuration. In this Expo setup, release proved more reliable — and the reason becomes clear at launch.
In dev mode, React Native puts its dev server connection and dev tools screens on top of your app, and both expect manual interaction. Detox begins driving the app the instant it launches, finds only those overlays where the real UI should be, and has nothing it can act on.
Note: A common suggestion online is to pass launchArgs that skip the dev screen. The approach seems reasonable, but it didn’t work consistently in the Expo setup used here:
// ❌ Commonly suggested but does not reliably work with Expo
await device.launchApp({
  newInstance: true,
  launchArgs: {
    RCTDevMenu: 0,
    RCTBundleURLHost: 'localhost',
    RCTBundleURLPort: '8081',
  },
});
After testing several approaches, we didn’t find one that worked consistently in this setup. For this tutorial, that makes release the more practical choice:
| Configuration | Works for E2E? | Notes |
|---|---|---|
| release | Yes, reliably | Mirrors production behavior, no dev overhead |
| debug | No, in practice | Dev screen blocks Detox on launch |
If your app is already in TypeScript, your tests should be too. It keeps the codebase consistent and gives you autocomplete and type safety in your test files. Add the extra dependencies:
yarn add --dev ts-jest @types/jestThen update e2e/jest.config.js so it picks up both .ts and .js test files:
module.exports = {
  // ... existing config
  testMatch: ["<rootDir>/e2e/**/*.test.[jt]s?(x)"],
  transform: { '^.+\\.(ts|tsx)?$': 'ts-jest' },
};With everything configured, it’s time to write something that actually runs. Add a new test file inside the e2e/ directory:
// e2e/App.test.ts

import { expect, by, device, element } from "detox";

describe("Home screen", () => {
  beforeAll(async () => {
    await device.launchApp();
  });

  beforeEach(async () => {
    await device.reloadReactNative();
  });

  it("shows the welcome message", async () => {
    await expect(element(by.text("Welcome to Expo Detox Demo!"))).toBeVisible();
  });
});
Each line in that setup is doing deliberate work:
For your own tests, you should add testID props to your components and use by.id() instead of by.text() — it’s more resilient to copy changes:
// In your component
<Text testID="welcome-message">Welcome to Expo Detox Demo!</Text>

// In your test
await expect(element(by.id("welcome-message"))).toBeVisible();Tests can’t run against an app that hasn’t been built yet. On iOS, CocoaPods dependencies need to be resolved first:
cd ios
pod install
cd ..
Android needs no equivalent, since Gradle resolves its dependencies as part of the build. With the iOS pods in place, kick off the builds for both platforms:
detox build --configuration ios.sim.release
detox build --configuration android.emu.release
The first build takes a while — Xcode and Gradle are doing a lot of work. Subsequent runs are considerably faster thanks to their build caches.
Both apps are built, so only the run itself remains. Open your iOS Simulator and Android Emulator, then run the tests for each platform:
# iOS
detox test --configuration ios.sim.release

# Android
detox test --configuration android.emu.release
When the setup is correct, you’ll see Detox boot the app, interact with it, and print a passing result.
Once your first test is green, you’ll go beyond simple visibility assertions. Here are the patterns you’ll reach for most often.
Some elements only exist in the render tree once they’ve been scrolled into view. Use scroll() combined with waitFor():
await waitFor(element(by.id("item-42")))
  .toBeVisible()
  .whileElement(by.id("items-list"))
.scroll(200, "down");The assertion to watch here is .not.toBeVisible(), which confirms the modal is genuinely gone after closing rather than just hidden behind another element:
it("opens and closes the settings modal", async () => {
  await element(by.id("open-settings-button")).tap();
  await expect(element(by.id("settings-modal"))).toBeVisible();

  await element(by.id("close-modal-button")).tap();
  await expect(element(by.id("settings-modal"))).not.toBeVisible();
});Text entry chains the actions a real user performs — tap the field, type into it, move to the next, and submit:
await element(by.id("email-input")).tap();
await element(by.id("email-input")).typeText("user@example.com");
await element(by.id("password-input")).typeText("secret123");
await element(by.id("login-button")).tap();
Note: A common trap is asserting on an element that exists in the component tree but sits off-screen. .toBeVisible() checks whether something is actually rendered on screen, not merely whether it’s present in the tree, so it will fail on an element that exists but isn’t visible. When failures don’t seem to make sense, this is the first thing worth checking.
Detox’s biggest advantage over other E2E tools is its synchronization engine, which automatically waits for the app to become idle, reducing the need for arbitrary sleep() calls. It tracks pending network requests, JS timers, animations, and React’s render cycle, and holds each test until they’ve all settled.
But sometimes Detox’s sync gets confused. The most common culprits are:
When this happens, you’ll see tests that hang or time out without a clear reason. The fix is to temporarily disable synchronization for that screen:
it("loads the dashboard with live polling", async () => {
  await device.disableSynchronization();
  await element(by.id("dashboard-tab")).tap();
  await waitFor(element(by.id("dashboard-content")))
    .toBeVisible()
    .withTimeout(5000);
  await device.enableSynchronization();
});
Use waitFor().withTimeout() defensively for anything that depends on a network response or animation:
await waitFor(element(by.id("success-toast")))
  .toBeVisible()
.withTimeout(4000);A handful of tests in one file needs no particular organization. A suite spanning dozens of tests across many screens quickly does, though, and a few practices keep it maintainable as it grows.
Any sequence you write more than once — logging in, dismissing onboarding, seeding a particular state — belongs in a shared helper under e2e/helpers/ rather than copied into each test:
// e2e/helpers/auth.ts
import { element, by, device } from "detox";

export async function loginAs(email: string, password: string) {
  await device.launchApp({ newInstance: true });
  await element(by.id("email-input")).typeText(email);
  await element(by.id("password-input")).typeText(password);
  await element(by.id("login-button")).tap();
}
Then in your tests:
import { loginAs } from "../helpers/auth";

beforeAll(async () => {
  await loginAs("user@example.com", "secret123");
});For tests that need a completely clean app state, use newInstance: true:
beforeEach(async () => {
  await device.launchApp({ newInstance: true });
});
This is slower than reloadReactNative() but guarantees a clean slate — useful for auth flows or onboarding tests where persisted state would interfere.
While iterating on a single feature, running the entire suite on every change wastes time — Detox can filter by test name and run only what’s relevant:
detox test --configuration ios.sim.release --testNamePattern="login"Tests you can’t run selectively or reset cleanly become the thing slowing you down.
E2E tests are the most expensive kind to write, maintain, and run — slower than unit tests, more sensitive to the environment, and dependent on native builds. That expense is the whole reason to be selective: an E2E test earns its keep only on the flows where a silent failure would actually cost you something. Those tend to be the paths a real user depends on and the ones that have burned you before:
The inverse is just as useful to recognize. Plenty of things can be verified without a real device at all, and forcing them into an E2E suite buys nothing but a slower, more fragile test run. Logic that stands on its own belongs in a unit or integration test instead:
The line between the two comes down to consequence. A bug that would directly affect real users or revenue justifies the cost of an E2E test; isolated logic that gains nothing from running on a real device is faster and cheaper to cover with a unit test.
Detox takes more setup than lighter E2E tools, especially in an Expo project, but that effort makes the most sense where failures are hardest to catch any other way. Authentication, onboarding, checkout, and other multi-screen flows are where running the app end to end can add the most value.
You do not need to cover the entire app with E2E tests. Start with the journeys that matter most, keep the suite focused, and let unit and integration tests handle the isolated logic. With that balance, Detox gives you a practical safety net for the flows that matter without turning every change into a heavy test cycle.
{{banner-2}}